Assalamu’alaikum wr wb,
This origami is intended for Educational purpose only.
Folding paper in particular ways to tell a story, create an object, solve a problem and even establish areas for mini tasks provides both an intellectual and emotional challenge. A precise, sensory visual craft, paper folding always leaves you feeling satisfied as it entertains and educates at the same time. Folding paper is not difficult, but it does get easier with practise. The neater you folds, the better all your models will look.
Learn the art of paper folding with these instructions and pictures.
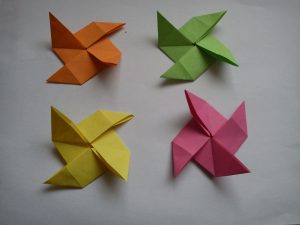
Making a Windmill!.
1. Start with a square of paper.
2. Fold a square piece of paper into eight along the dotted lines indicated below. Open it out again.
3. Fold the right and left sides in together along the vertical centre fold.
4. Fold the upper and lower sections in together along the horizontal centre fold. Unfold them.
5. Along the dotted lines, fold the shape first to the right and then to the left.
6. Lift the inner lower corners up and out.
7. Fold up the lower edge of the shape to meet the horizontal centre fold.
8. Turn the shape upside down and repeat steps 6 and 7.
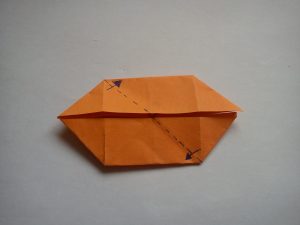
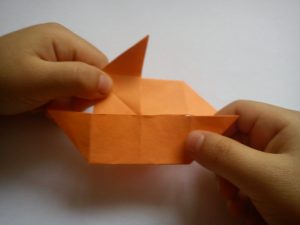
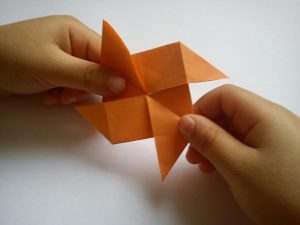
9. Along the dotted lines, fold the lefthand triangle up and the righthand triangle down.
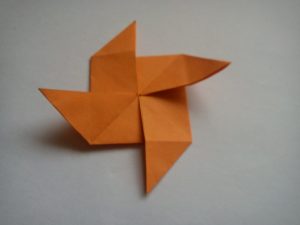
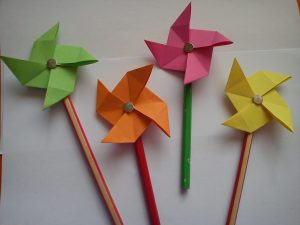
Your Windmill is ready!
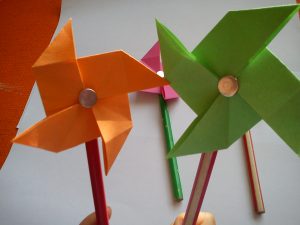
You can attach the windmill to a stick with a pin, blow and Insha Allah it will turn.
Wassalamu’alaikum wr wb.
Source; ORIGAMI Techniques, Methods, Materials.

