Assalamu’alaikum wr wb,
Blog Buttons or badges are becoming a very popular way to promote and link your blog to others. I will show you step by step how to make a blog button (WordPress only). I’m sure there are different ways to do it, but this is what worked for me.
Step 1: Making a button.
You can use the most basic drawing software called Paint or you can use free drawing software like Gimp, Pixia etc.
Press start on your computer-> All Programs->Accessories->Paint.
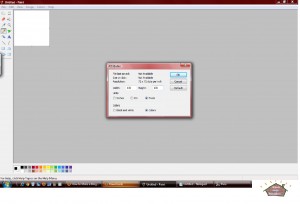
The standard size is 125×125 pixels, some people use 150×150 pixels. My button is 150×150. This is how to do it.
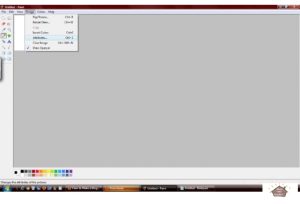
Paint program->Image->Attributes->Width:150 Height:150->Units Pixels.
Now you ready to decorate you button.
After you get the image to look the way you want, then you need to save your button.
Your button is officially ready to use.
Step 2: Uploading a button.
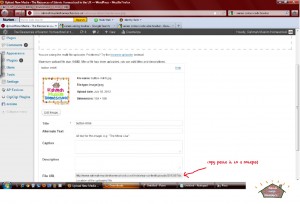
Go to your Dashboard, under Media on the left hand column click on Add New. Upload the blog button that you saved earlier. Once the image has been uploaded, WordPress will provide you with the File URL. You will need this later.
Write it down or copy paste it to a Notepad document. This is how to do it.
Press Start on your computer-> All Programs->Accessories->Notepad.
Step 3: Adding a widget.
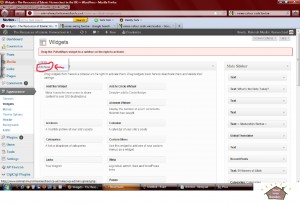
Go to your Dashboard, then look under Appearance in the column on the left hand side of the screen and click on Widgets. Find the text widget for arbitrary text/HTML. Click on the text widget and drag it over to your sidebar on the right where all your other widgets go.
Step 4: Writing the HTML code.
Helpful tip: Use a Notepad and copy paste the code below.
<div align=”center”><a href=”YOUR BLOG URL” target=”_blank”><img src=”YOUR BUTTON URL“></a></div>
<div align=”center”><form><textarea rows=”3″ cols=”19″ readonly=”readonly”><a href=”YOUR URL” target=”_blank”><img src=”YOUR BUTTON URL“></textarea></form></div>
Note:
YOUR BLOG URL= The URL for your blog. http://www.YOURBLOG.com
YOUR BUTTON URL= The Button’s location (File URL, please read step 2).
Go to your Widget (please read step 3)->Copy paste the code->click Save and then close. Now you can check your button. If it doesn’t look right, start all over again with the code. Check everything.
Do let me know if you have different ways. I will post it on my blog Insha Allah.
If you have a homeschooling blog or an Islamic blog for kids. We can swap buttons. Just let me know.
If you follow my blog, I will do the same with yours!Insha Allah.
Wassalamu’alaikum wr wb.

